
Part of our complete guide: Devil’s Ivy (Pothos) care in Australia.
Brown, crispy tips usually point to moisture inconsistency, dry air, salt or fertiliser build-up, sun exposure, root stress or pest damage. The pattern of the browning matters more than the colour alone. Read the pattern before changing anything. Treating the wrong cause can turn a minor cosmetic problem into a real one.
There is no single explanation for brown tips, and any page offering one is guessing. What there is, is a set of distinguishable patterns. Identify the most likely pattern first, then change one thing at a time and watch how the plant responds. Changing several things at once — repot, flush, feed, mist — tells you nothing about which one mattered. For the wider picture, start with our complete Devil’s Ivy care guide.
First, Read the Pattern
Two questions do most of the diagnostic work: is the damaged tissue dry and crisp, or soft and dark? And where on the plant is it?
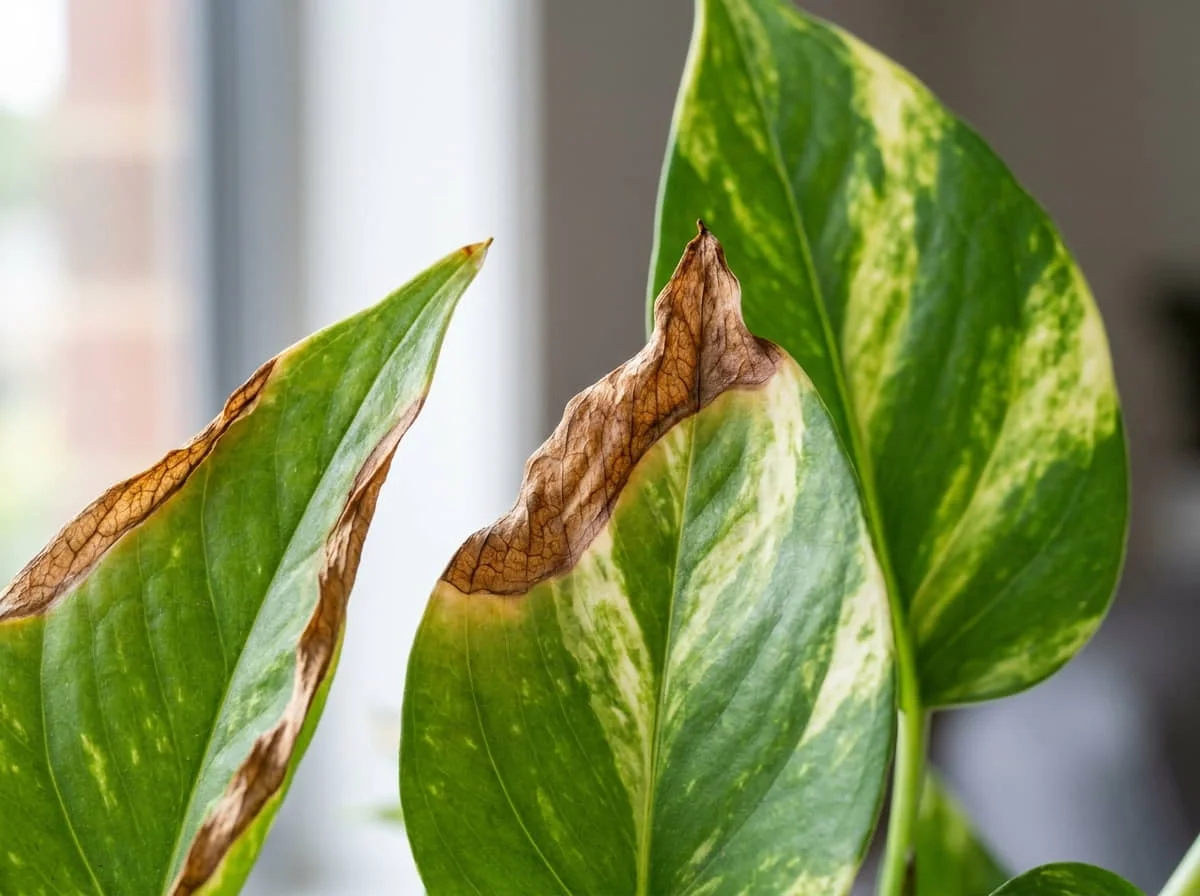
| What you see | More likely explanation |
|---|---|
| Dry, crisp tips and edges | Moisture inconsistency, dry air, or salt / fertiliser build-up |
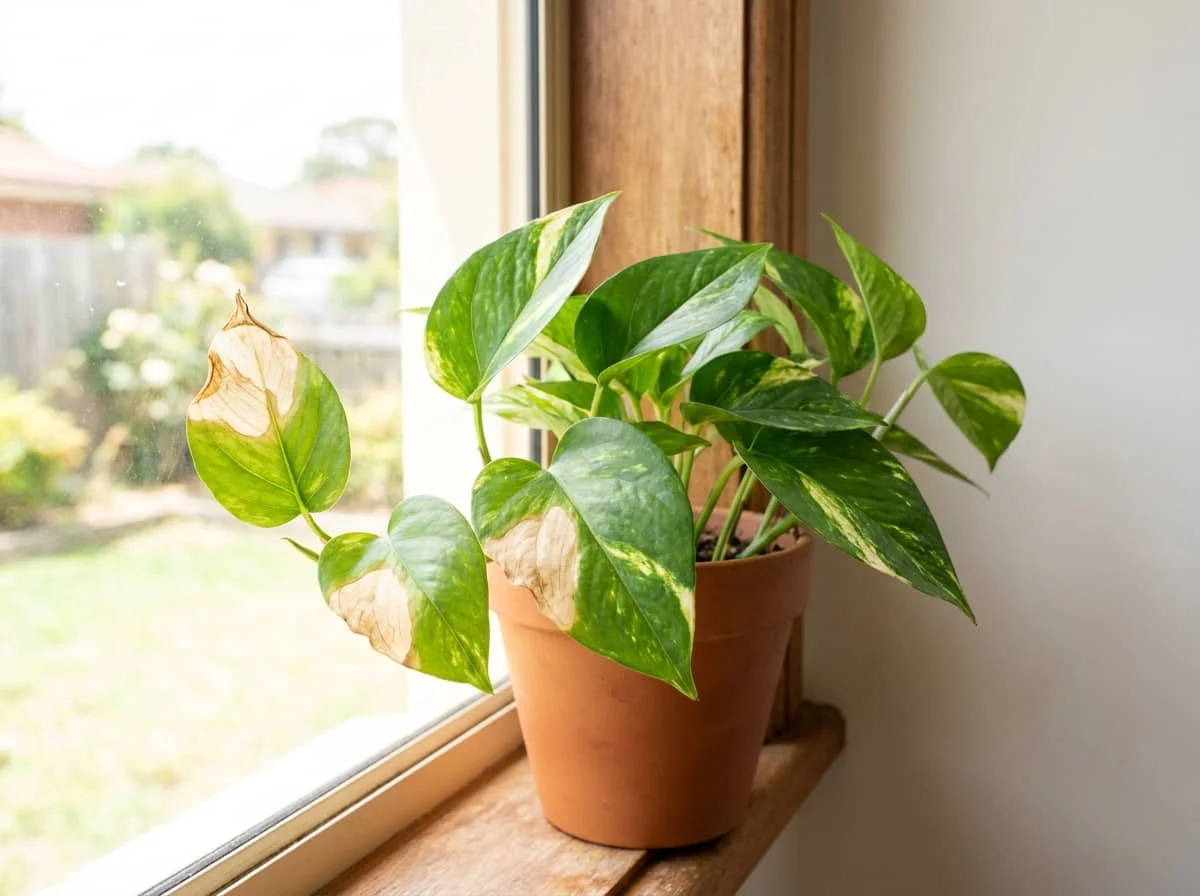
| Bleached or scorched patch on the window side | Sun scorch — see the light guide |
| Soft brown or black tissue, mix staying wet | Root damage or rot — see yellow leaves and root rot |
| Silvery scarring or small black specks | Thrips or other pest damage — see the pest guide |
| Browning that began after repotting | Root disturbance, or a watering mismatch in the new mix |
Soft, dark tissue on a plant sitting in wet mix is a different — and more urgent — problem than dry, crisp tissue. If that is what you have, go straight to the root-rot guide.
The Real Causes, Kept Separate
- Inconsistent watering. Not “too little” — erratic. Swinging between bone-dry and saturated costs fine root tips, and the leaf tips follow. See the watering guide.
- Heater and air-conditioner drafts. A vent blowing onto foliage dries it faster than the plant can supply it — an issue in Australian homes in both January and July.
- Low humidity, where the air is genuinely persistently dry — not as a default explanation for every brown tip.
- Fertiliser burn from feeding too strongly, too often, or onto dry mix.
- Dissolved-salt build-up in the mix over time, from fertiliser and from minerals in the water.
- Sun scorch, which shows as damage concentrated on the side facing the glass rather than evenly on tips.
- Root stress after repotting, including a new mix that holds far more water than the old one.
- Compacted or damaged roots, which cannot supply the leaves however much you water.
- Pests, particularly thrips.
- Physical damage — a vine rubbing a wall, a pot, or a curtain.
These are separate causes with separate fixes. Do not collapse all of them into “it needs more humidity”.
Brown edges are also common on Calathea, but its diagnosis can involve a different balance of moisture, humidity, light and water quality; our complete Calathea care guide covers the wider picture.
If the plant with brown tips is an Alocasia rather than pothos, check its broader moisture, humidity and root conditions before copying the same fix; see our Alocasia care guide for Australia.
Tap Water: What Can and Cannot Be Concluded
Tap water is blamed for brown tips constantly, usually without evidence. The honest position:
- Ordinary tap water is tolerated by many Devil’s Ivy plants.
- Water hardness and dissolved salts vary considerably between areas — there is no single “Australian tap water” to blame.
- Tip damage on its own does not prove that chlorine, fluoride or tap water is responsible.
- Investigate watering consistency, feeding and root condition first — more common causes, and free to check.
- If it persists after those are ruled out, look up the water-quality information for your own supply rather than assuming.
Fertiliser, Salts and Flushing
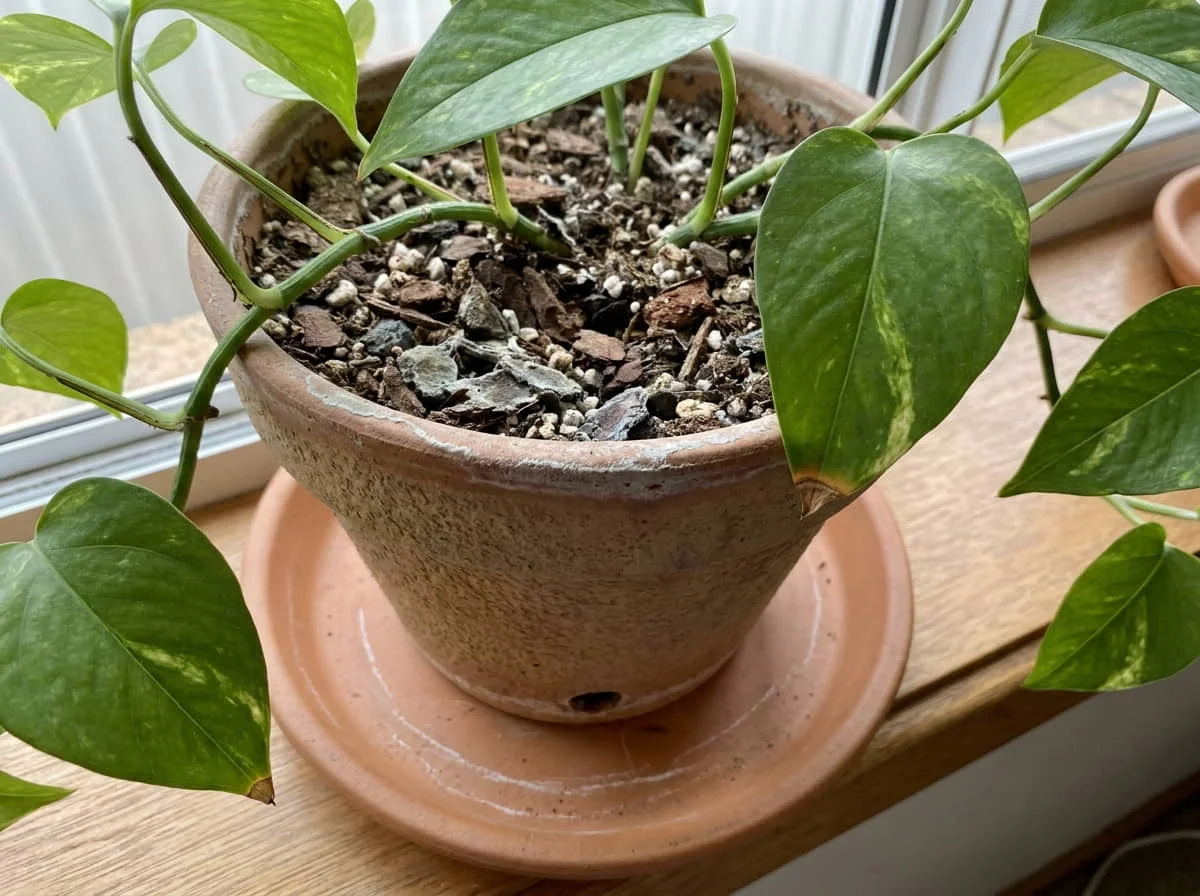
Flushing — running water through the mix to carry accumulated salts out the drainage holes — is a legitimate technique that is routinely recommended to people it will not help and may harm.
- More fertiliser does not repair damaged leaves. Feeding a stressed plant harder is a common way to make things worse.
- Excessive or frequent feeding contributes to the salt accumulation that causes the problem in the first place.
- Flushing may help only when the mix still drains freely.
- Do not flush a pot that is already waterlogged, or whose mix has structurally collapsed. You will be adding water to a root system that is already suffocating.
- Severely compacted mix needs inspection, and possibly repotting — not more water pushed through it.
- Resume feeding based on the plant’s active growth and the product’s label directions, not a fixed rule of thumb.
Humidity — Useful, But Not the Default Answer
- Drafts and very dry indoor air can genuinely contribute to crisp tips.
- Misting has a limited, short-lived effect. It raises humidity around the leaf for minutes, not hours.
- A humidifier may help in a persistently dry room — but it is not the first answer to every tip problem, and reaching for it first often leaves the real cause unaddressed.
- Avoid creating constantly wet foliage or constantly wet potting mix in the name of humidity. That trades one problem for a worse one.
Trimming the Damaged Tips
Brown tissue will not turn green again. It is dead. Trimming is cosmetic: it makes the plant look better and does nothing to the cause.
- Use clean scissors or secateurs.
- Follow the natural shape of the leaf, so the cut does not look obviously artificial.
- Leave a narrow brown margin rather than cutting back into healthy green tissue — cutting into living tissue creates a fresh wound.
- Judge whether you have fixed anything by looking at the new leaves, not the trimmed ones.
When to Actually Inspect the Roots
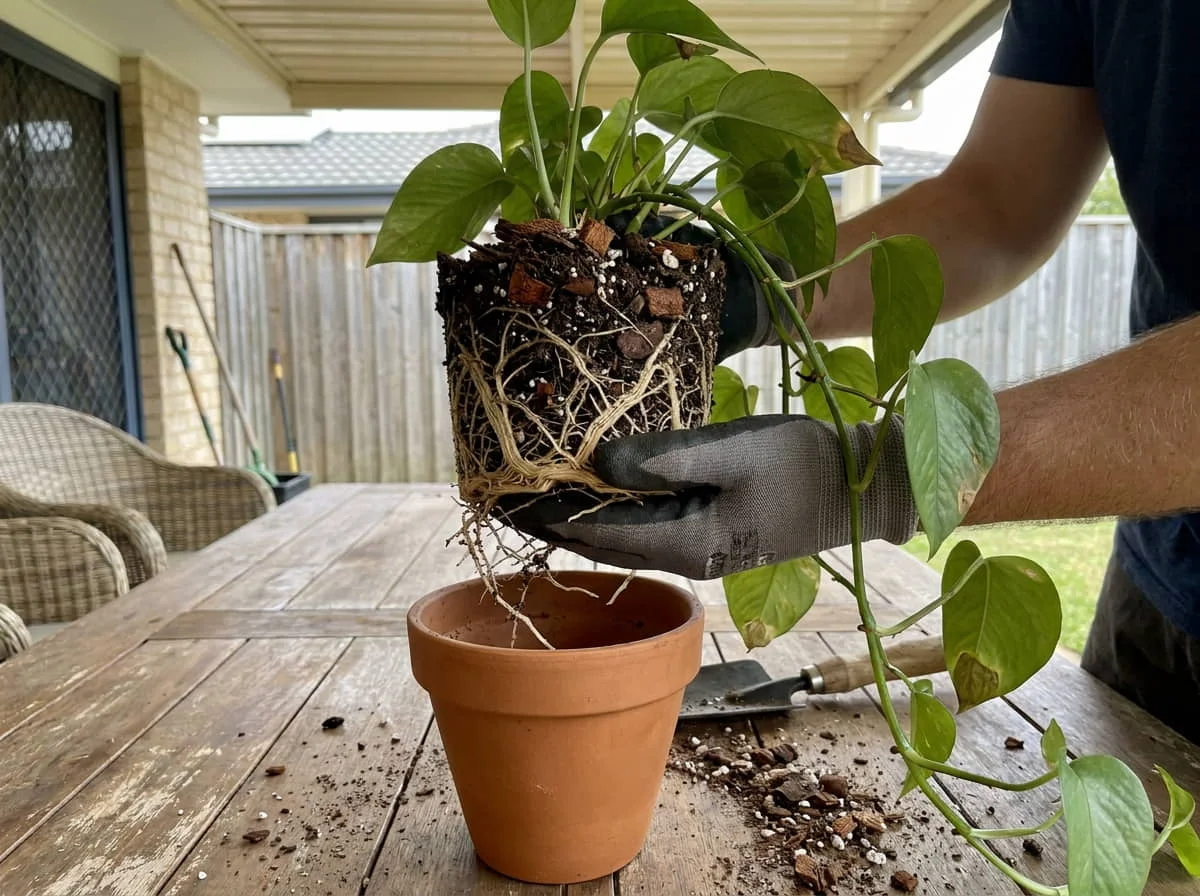
Do not pull the plant out of its pot as a first move — root disturbance is itself a cause of browning. Inspect when the symptoms justify it:
- the mix stays wet for an unusually long time;
- the plant droops while the mix is wet;
- several leaves deteriorate at once, rather than the odd tip;
- there is a sour or swampy smell from the pot;
- stems feel soft near the base;
- the decline started after a recent repot.
Any of these, and you are likely dealing with roots, not air. Go to yellow leaves and root rot.
What to Change First
A measured sequence, so you are not repotting and flushing on day one:
- Check whether the mix is wet or dry at depth, not just at the surface.
- Look at the pattern and the window side. One-sided damage suggests sun, not water.
- Review your feeding — strength, frequency, and whether you fed dry mix.
- Check vents and drafts. You stop noticing them, which is why they get missed.
- Inspect for pests, including leaf undersides and new growth.
- Inspect the roots only if the symptoms above justify it.
Work through that in order and you will usually find the cause without disturbing a plant that did not need it.
Frequently Asked Questions
No. That tissue is dead. Clean new growth is the only honest measure of whether you have fixed the cause.
You can, for appearance. Clean scissors, follow the leaf shape, leave a thin brown margin rather than cutting into healthy tissue. Cosmetic only.
Possibly, but tip damage alone is not evidence of it. Hardness varies by area, and many plants cope with ordinary tap water. Rule out inconsistent watering, feeding and root problems first.
It appreciates humidity, but low humidity is not the automatic explanation, and misting is short-lived. Check drafts, watering and salts before buying a humidifier.
Yes — indirectly, and it is widely missed. Waterlogged mix damages roots, and damaged roots cannot supply the leaves, so tips brown even though the pot is wet. That browning is usually softer and darker than the dry, crisp kind.
Only if the mix still drains freely and you have reason to suspect salt build-up. Do not flush a pot that is waterlogged or whose mix has collapsed — that makes a root problem worse.
Usually root disturbance, or a new mix holding more water than the old one, making your existing watering habit too much. Keep conditions stable and watch the new growth rather than intervening again.
They can be. Thrips leave silvery scarring and small black specks alongside the damage. If you see those, treat it as a pest problem — see the pest guide.